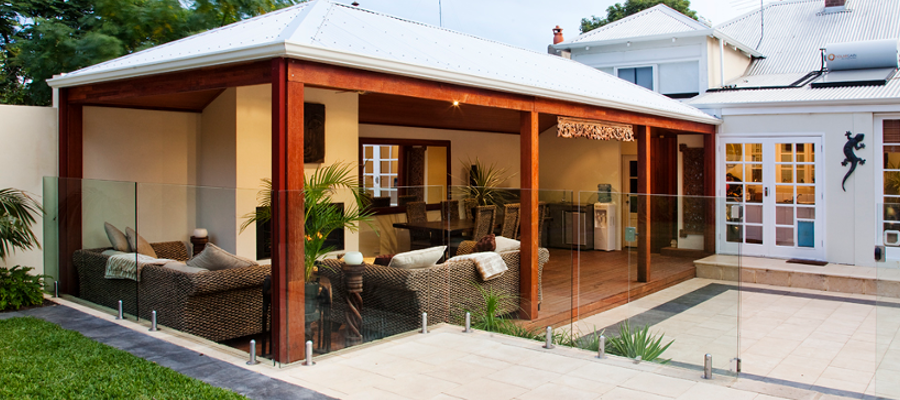
The frame of your Softwoods pergola is almost complete and now it’s time to install posts to make the structure stand up.
Step Seven-Installing Posts
This step is once again very important to get right as once the posts are set it’s extremely difficult to fix any mistakes you have made to this point. Once you have the posts installed you will really be able to see some progress in your pergola and all of the preparing and marking out that you did earlier will start to pay off for you.
Marking the beam
From your plans you can work out where the posts are to be located. Measure and mark the centres of the post locations on the beam with a pencil line indicating where the centre of the post will be.
Measure and cut post to length
To determine the exact length the post needs to be, a few measurements are required. Firstly measure from the top of the beam at the position of each post, to the point on the ground where the posts will be fastened.
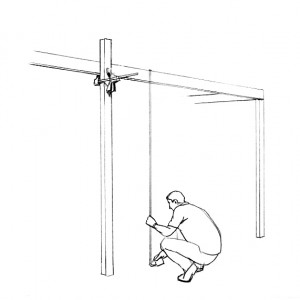
As the posts do not go to the very top of the beam, you will need to subtract from the measurement that you have a Post Set Down (PSD) amount, which is the depth of your beam minus the depth of the notch out on the post.
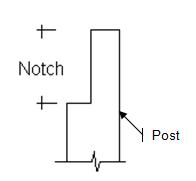
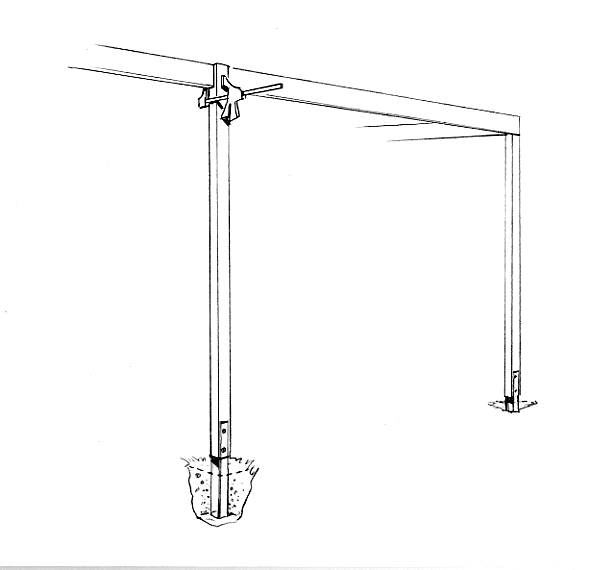
Finally, the amount the post will be above the ground is also required to be subtracted. This may vary depending on the style of post shoe you have or whether you plan to pave in the future. Use the diagram below to help you.
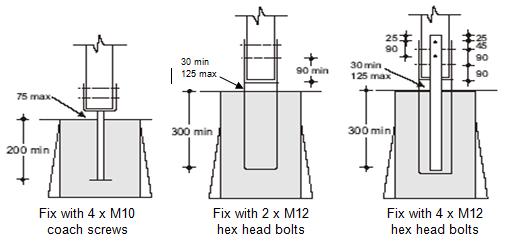
Just to be clear, the exact length of the post is the total height (from the top of the beam to the floor) minus the Post Set Down minus the ground clearance.
Once you are certain that you have this measurement correct carefully cut the post to this length with your power tools. After you have cut the post be sure to spray the cut ends with a timber preservative.
Fit the post shoe
Now that the posts have been cut to the correct length the post shoes need to be fitted for each post. Follow the appropriate instructions from the previous diagram to suit the post shoe type you have. Please pay particular attention to ensure that the base of the post is the distance you require above the seat of the post shoe.
Determine location of post hole and dig hole
Once you have all of your posts fitted with shoes you can move on to digging the holes to fit your posts and then concreting in the post shoes. Holes are located directly under the posts so that the posts can be easily plumbed.
A simple ‘plumb bob’ can be made by attaching a weight to the end of a piece of string. Attach the other end of the string to the beam at the position you have marked for the centre of each post. Let the weight hang just above ground level (you may need to adjust the length of string to achieve this) and (barring any howling winds!) it will be located directly above the centre of where you will need to dig the footing hole.
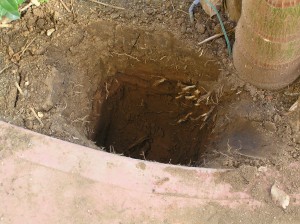
You will find the required footing size for your posts on your plans. Dig a hole to these dimensions at every point that a post is required. It is important that you make sure that your footings are the correct size as they are essential in anchoring your pergola in extreme weather conditions.
Fit the post and pour concrete
Now that you have your holes in place, you can fit the posts to the beam. The posts are to be fitted to the beam while the structure is still on props so that the beams don’t fall with the posts into the holes. Once the posts are fitted, the shoes should sit above the bottom of the holes that you have dug for them. This way you can fill the holes around the shoes and they can set in exactly the right place.
You should have already worked out where the centre of the posts are supposed to be on your beams, and marked this point. From this point, measure outward half of the width of the post in both directions from this mark. Eg an 88mm wide post measure and mark 44mm each side of the centre. This will locate where the edges of each post will be fixed.
Lightly project these marks down the face of the beam to provide a guide for lining the post up. To position the post place the post shoe in the hole first and lift the post up so that the beam rests nicely in the pre cut notch.
When the post aligns with the markings each side, clamp post and beam together. Final, small adjustments can be made by loosening and tightening your clamps.
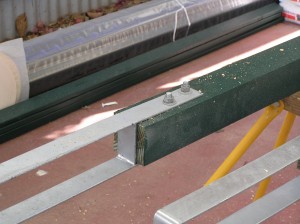
Make sure that the post is level and when you’re satisfied that it is, drill through the post and the beam, using you spirit level to make sure that the post alignment is correct. Bolt the post to the beam using 2 or 3 M10 bolts. Make sure that you have the bolt heads on the outside of the beam.
Once you have fastened each post, mix your concrete according to the manufacturers instructions and pour it into the footing holes. Before you pour any concrete, do a last check to see that your beams and bottom chords are level as well as your posts.
Pouring the concrete, unless done very carefully may cause the post to be moved out of level – quickly check each post after pouring and return it to level if this occurs. Repeat this for all of the posts and also check the levels of previous posts as you go.
Once all of the concrete is poured, and all holes are filled, you should leave the structure propped until the concrete has set. It is best to leave it over night as working on the structure may result in your pergola being moved out of square as the concrete cures. Once the concrete has completely set, you can remove the props as it will now stand alone.
Now that you have completed this step, you can move onto the next phase, Installing the Rafters and Ridge.
How to build a Gable Roof Pergola – Step Eight – Installing the Rafters and Ridge
How to build a Gable Roof Pergola
For further information or any inquiries you might have please get in contact with us via the phone or the form below, we’d love to hear from you.
Softwoods
Softwoods is an independent, family owned company that has been trading for over 30 years. In that time we’ve worked hard to build a business that we’d like to deal with if we were building in our own backyards. We’re community minded, environmentally conscious, and always focused on our customers experience.
ABN: 49 076 530 848
Our Locations
573 Port Road, West Croydon SA 5008
Phone (08) 8346 1499
Email [email protected]
493 Wright Rd, Modbury SA 5092
Corner Wright & McIntyre Roads
Phone (08) 8396 4044
Email [email protected]
28 O’Sullivan Beach Road
Lonsdale SA 5160
Phone (08) 8384 5133
Email [email protected]
Suite 15 Plaistowe Mews
102 Railway Street
West Perth WA 6005
Phone 1300 737 465
Copyright © 2024 Softwoods • Pergolas, Decking, Fencing, Carports, Roofing • Site by Adelaide Websites
© 2025 Softwoods - Pergola, Decking, Fencing & Carports, Roofing.
