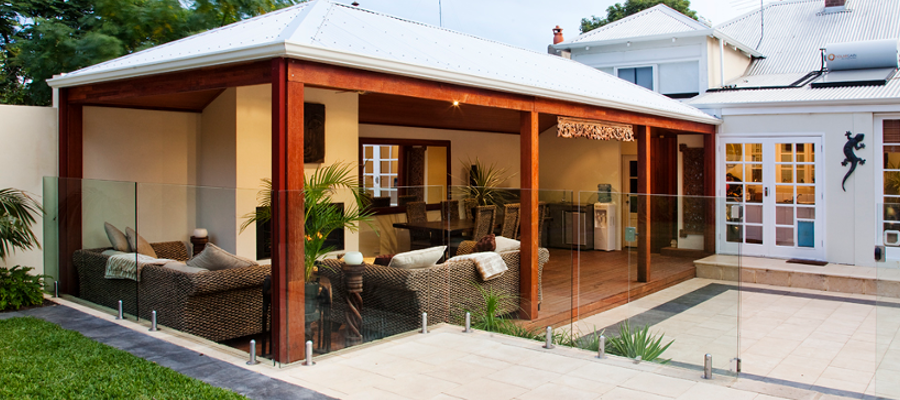
Once you have installed the guttering there is only one step left until you have finished your Pergola. That step is the installation of your roofing.
Step Eleven – Installing Roofing
When installing your roofing it’s very important to consider the best and safest way for you to work. You will likely be using Laserlite or Suntuf polycarbonate roofing or Colorbond sheets to cover your pergola, and you will need to consider the amount of weight that the sheets can bear if you are required to move onto the roof of your structure.
The first step in installing your roofing is the measurement of your sheets and the cutting of them to length. Measure the distance from the outside edge of the top purlin down to 50mm past the outside edge of the bottom purlin to ensure that water that falls on the roof of your structure will fall into the gutters. Cut the sheets to the exact size required with tin snips, sharp scissors or a fine tooth blade in a circular saw. Be sure to mark accurately on the sheets where you need to cut before you do any cutting.
Locate and pre drill screw holes
You will need to pre drill your roof sheets for accurate and simple installation. The number and variety of holes required is as follows. For the top and bottom purlins, a srew is required on every second crest (of the corrugations) For all of the mid purlins in your structure, a screw in every third crest is required. This is a guide only however and may be contrary to any warranty advice from the manufacturer, so it makes some sense to check before you drill.
Measure the location of your purlins and determine the middle of each purlins position on your sheets. Translate these measurements from the centre of each purlin on to the roof sheets, using chalk or a wax pencil to mark a line for screw positioning.
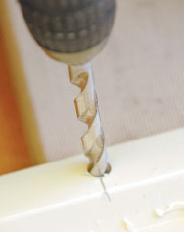
For polycarbonate sheeting pre drill 10mm holes in sheets where the screws will be. These holes allow for movement in the sheets as temperatures change and will be covered up by the hood of the polycarbonate screws.
Fix roof sheets
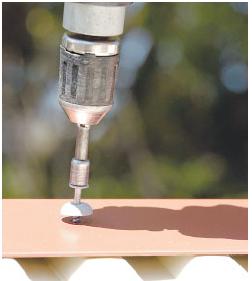
Place your roof sheets into position and screw through the pre drilled holes with dome washer polycarbonate screws into the purlins to fix the sheets. Screw sheets to all purlins except the top purlin at the ridge and the ends of each purlin near the end rafters. This will allow you to use the holes in these areas to attach the ridge and barge caps. Once you are done, sweep off any shavings left on the roof.
Prepare and install capping
The last part of building your pergola remains. All you have to do to be finished is install the ridge cap and barge on your structure and then do a spot of touching up.
Ridge cap
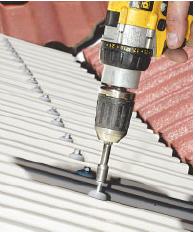
To install the ridge cap on your structure, place the ridge cap on to the ridge and screw down through the roof sheeting into the top purlin using the dome washer polycarbonate screws. To make sure you are screwing into the pre drilled holes, follow the same line of screws that you have done on the bottom purlin.
Barge board
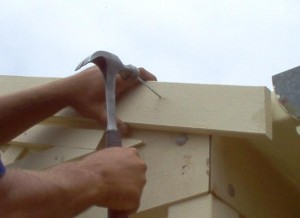
The next thing required is to fix the barge board to the ends of your purlins and the end rafter with 50mm bullet head nails every 300mm. You will need to pre drill the holes to prevent splitting of the barge board.
Barge cap
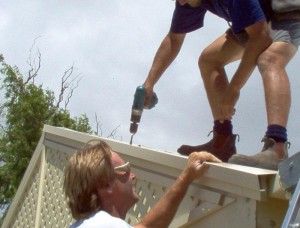
Once you have the barge board in place on both ends of the structure, measure and cut your barge cap to length making sure to get the angles right. Place the barge cap over the barge board and roofing and then screw into the purlins with dome washer screws.
Finishing off
Congratulations! You have finished your Pergola! The only thing that’s left to do is a quick splash of paint over your structure’s brackets and bolts, and/or any marks or scratches that have occurred during the build. If you’d like you can fill in any imperfections in your timber also. Once that’s done, all that’s left is to invite some friends over and wheel out the BBQ!
We hope that these instructions have been helpful to you, and that you get a great deal of satisfaction from your efforts in constructing your pergola. If you have just been reading through to see if you think you can do it yourself and are feeling confident have a look at our online store to get a quote for your own pergola, or shoot us an email at [email protected]
Alternatively, if you have any questions about any of the instructions we have provided here, please don’t hesitate to get in touch. We’d love to hear from you
How to build a Gable Roof Pergola
For further information or any inquiries you might have please get in contact with us via the phone or the form below, we’d love to hear from you.
Softwoods
Softwoods is an independent, family owned company that has been trading for over 30 years. In that time we’ve worked hard to build a business that we’d like to deal with if we were building in our own backyards. We’re community minded, environmentally conscious, and always focused on our customers experience.
ABN: 49 076 530 848
Our Locations
573 Port Road, West Croydon SA 5008
Phone (08) 8346 1499
Email [email protected]
493 Wright Rd, Modbury SA 5092
Corner Wright & McIntyre Roads
Phone (08) 8396 4044
Email [email protected]
28 O’Sullivan Beach Road
Lonsdale SA 5160
Phone (08) 8384 5133
Email [email protected]
Suite 15 Plaistowe Mews
102 Railway Street
West Perth WA 6005
Phone 1300 737 465
Copyright © 2024 Softwoods • Pergolas, Decking, Fencing, Carports, Roofing • Site by Adelaide Websites
© 2025 Softwoods - Pergola, Decking, Fencing & Carports, Roofing.
