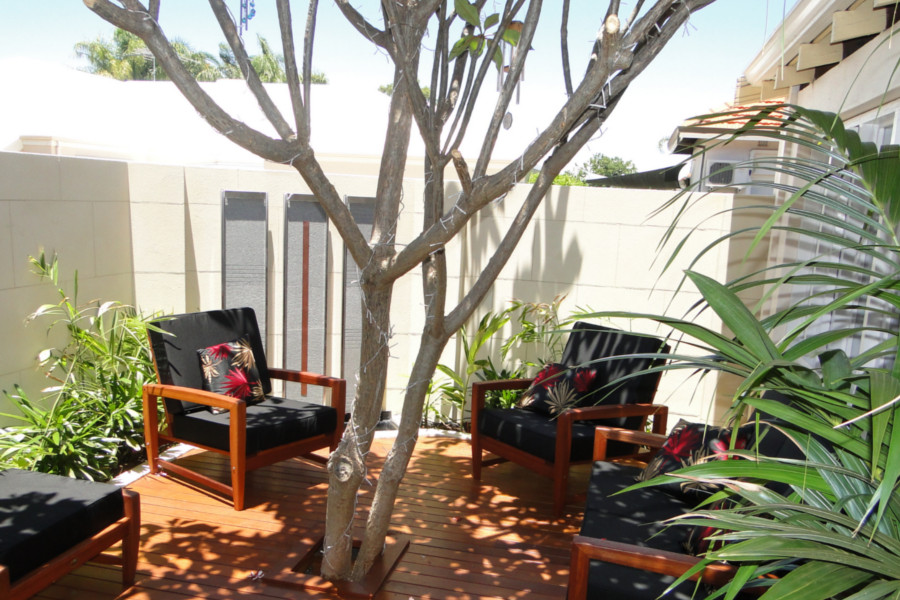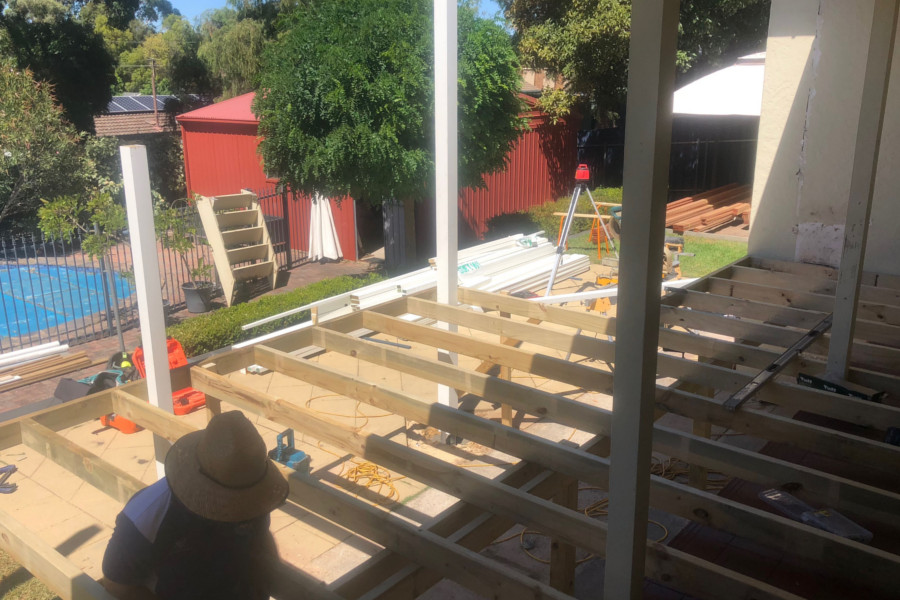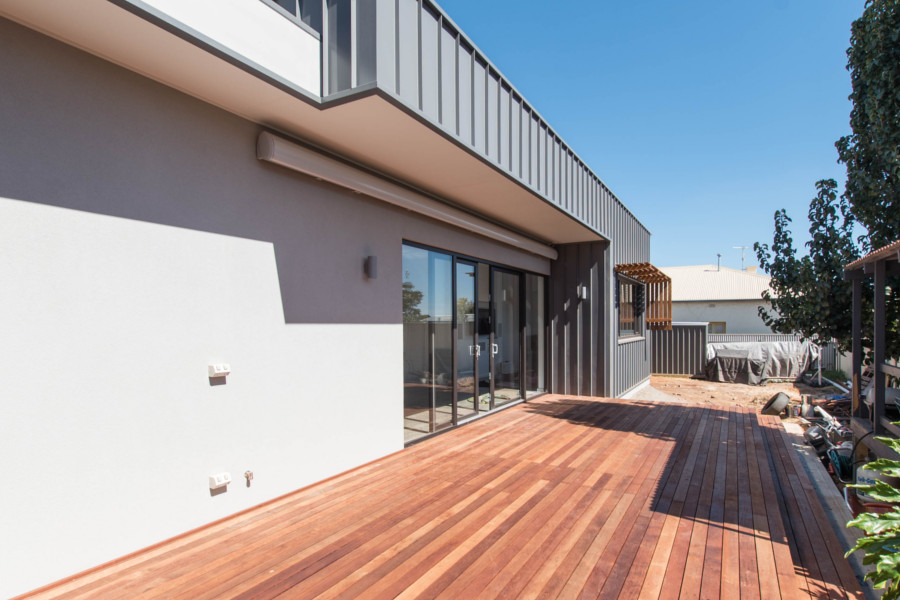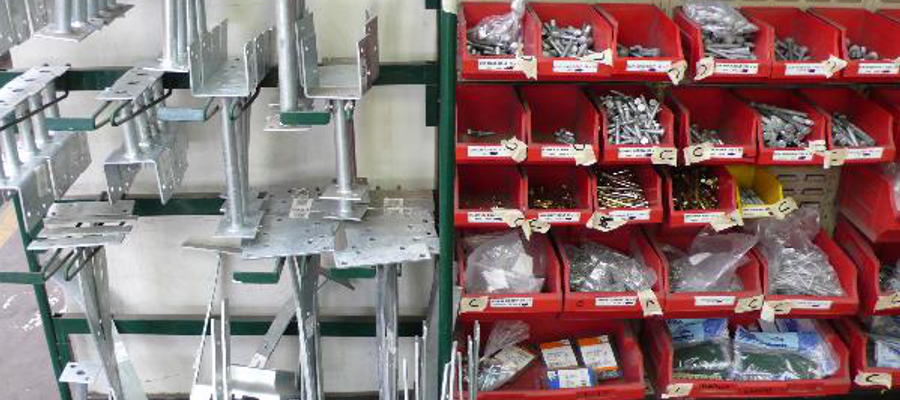
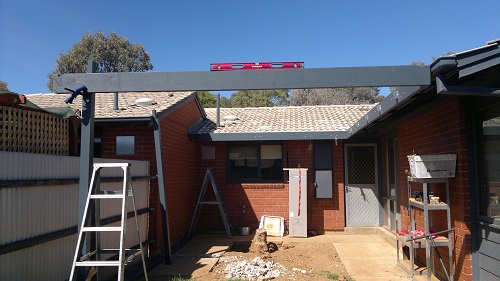
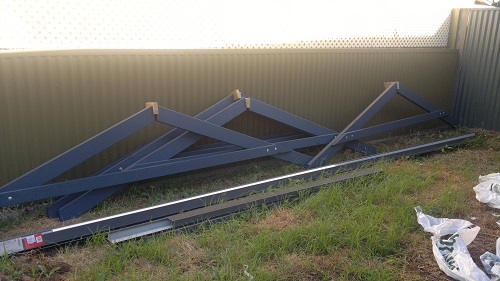
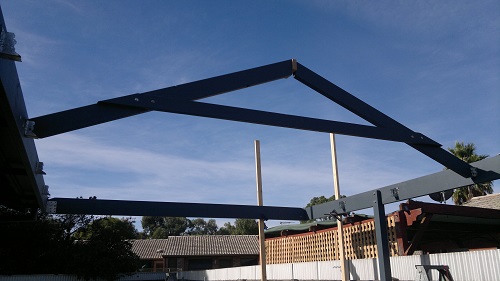
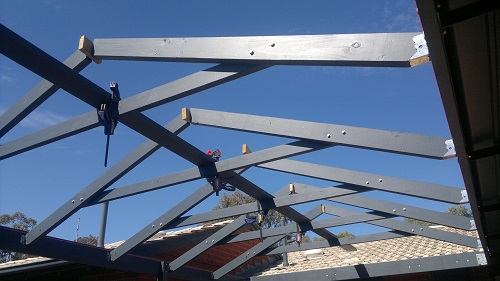
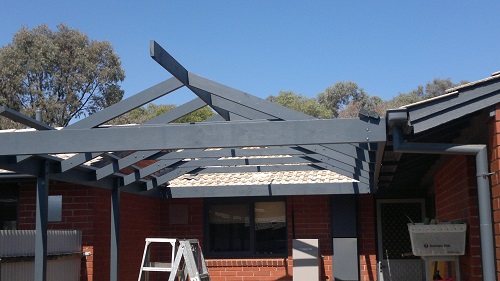
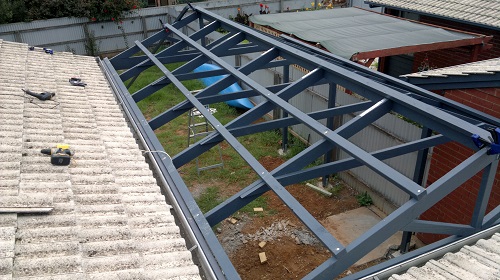
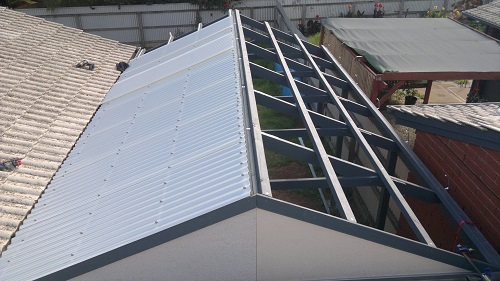
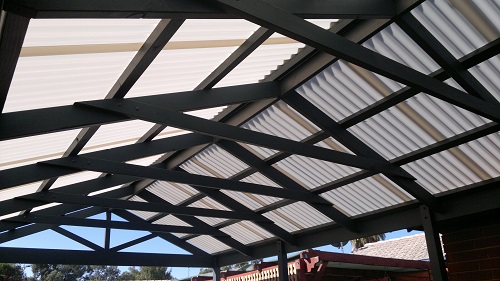
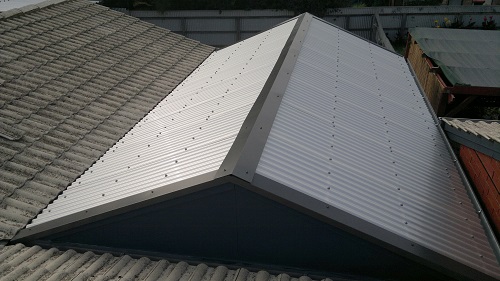
Here are a few pictures we were sent by a customer of ours Neil Teasdale. He ordered his pergola kit through our online quoting tool, and was kind enough to take a number of photos throughout the process so that we are able to show a number of the steps he went through in building his pergola.
He also sent us a testimonial which I’ve attached below.


Dear Jakuf
I would just like to take this opportunity to thank you and the staff at Softwoods for the help in making my DIY Verandah project into a complete success. From using your online quote tool to the end of the project I could not have asked for better support.
As I work fulltime and only have weekends free I found it invaluable that you organised drawings and council approval, which were through in a matter of days. As this was the first project of its type I had undertaken I was also impressed not only with the instructions that came with the kit but the kit itself, everything was cut accurately and all hardware came with it, even the concrete for the posts which I had not taken into consideration.
As a do it yourselfer, I suppose the most challenging part of the installation was that of the rafter stiffeners but after A good read of the instructions and a little patience I completed the work easily. I am forwarding some pictures of the job and am happy for you to use them as you see fit. Once again, thanks for all your help, it was not only satisfying to complete the job myself I also saved myself thousands in the process.
P.S. The roof is getting a clean too.
Regards
Neil Teasdale
Softwoods
Softwoods is an independent, family owned company that has been trading for over 30 years. In that time we’ve worked hard to build a business that we’d like to deal with if we were building in our own backyards. We’re community minded, environmentally conscious, and always focused on our customers experience.
ABN: 49 076 530 848
Our Locations
573 Port Road, West Croydon SA 5008
Phone (08) 8346 1499
Email [email protected]
493 Wright Rd, Modbury SA 5092
Corner Wright & McIntyre Roads
Phone (08) 8396 4044
Email [email protected]
28 O’Sullivan Beach Road
Lonsdale SA 5160
Phone (08) 8384 5133
Email [email protected]
Suite 15 Plaistowe Mews
102 Railway Street
West Perth WA 6005
Phone 1300 737 465
Copyright © 2024 Softwoods • Pergolas, Decking, Fencing, Carports, Roofing • Site by Adelaide Websites
© 2025 Softwoods - Pergola, Decking, Fencing & Carports, Roofing.

