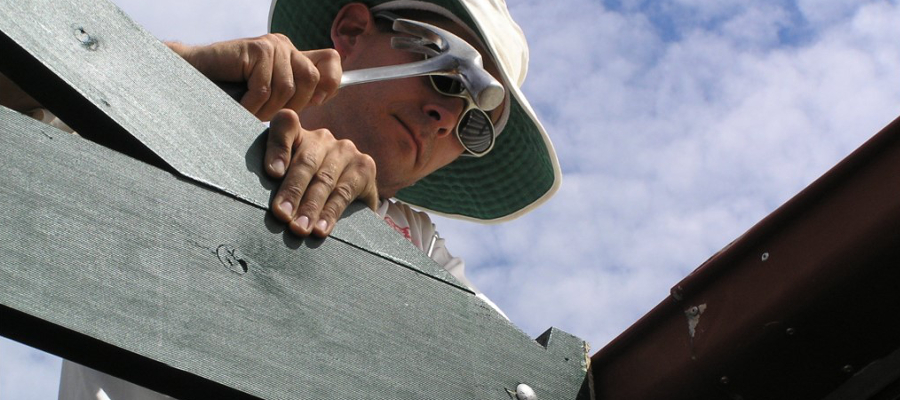
Rafters are among the most important components of any pergola. They carry the purlins and the roof sheets and they are also a highly visible architectural feature of the structure. Some of the rafters are named according to the location on the structure that they are to be used.
The correct size of the rafter is determined by how wide you intend to make the pergola. The basic principle is, the wider the gable or flat-roof structure, the larger the rafters need to be to span the space underneath the roofing. This information can be a little overwhelming to anyone who wishes to build a pergola, and that’s why we at Softwoods have a state-of-the-art design system to determine all of the engineering requirements to see that the structure meets the Australian Building code.
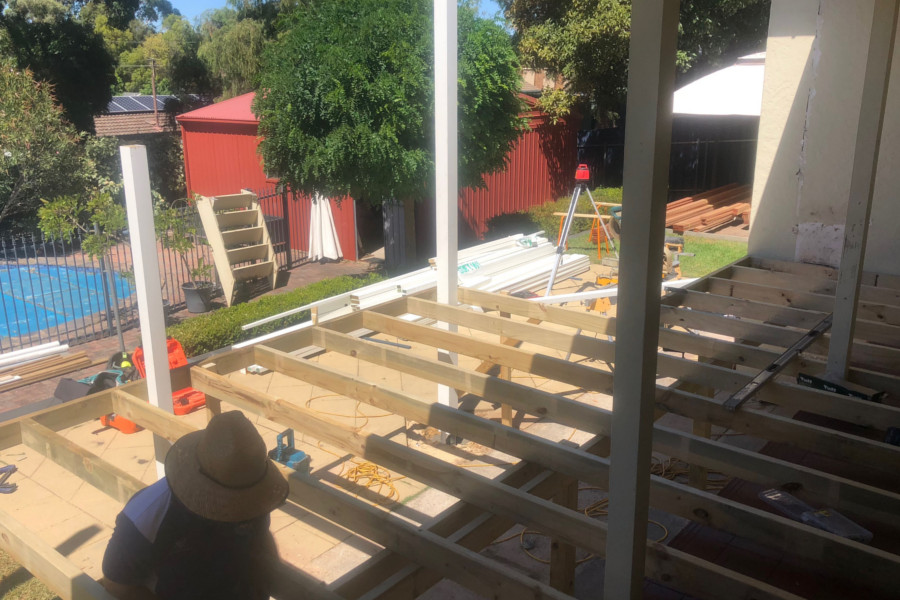
To install rafters for either a gable or flat-roof, you need to space them in accordance to the building code. For example, a simple Colorbond or polycarbonate roof needs to have the rafters placed at specific locations. The rafter itself needs to have the correct profile size. Normally, to simplify the installation, we recommend the use of galvanized joist hangers and connector nails. Or if the rafter is sitting over the beam, use Uni Ties.
Softwoods can make installation a lot simpler by pre-cutting the structure beforehand. A major benefit of a Softwoods pre-cut gable pergola is that a lot of the measuring and marking has been done for you already. Other tasks that would have previously been done overhead during the construction process can now be done safely and accurately on the ground prior to the build. The beams have the positions of each of the rafters already marked on them; approximately every 1,200 mm (Note: the exact measurement depends on your structure). There will be three holes punched into the face of the timber so you know where to fix the joist hangers.
Installing a ridge beam for a gable pergola uses the same basic principal as installing the main beam. Ridge beams are usually the next size up from your rafter size because of the angle cuts on the rafters. You don’t need to use a joist hanger at the ridge end (high end) of the rafters, Once the rafters are in place fix them to the ridge with 3 x 75mm nails, one in from the top of the rafter and one skew nailed from either side. As you fix each gable frame to the ridge you will need to evenly fix the 600mm rafter strap over the top of the rafters and ridge. Use five connector nails in the holes on the strap on each side of the ridge.
The big advantage for you with the Softwoods pre-cut kit is that you get detailed plans and step-by-step instructions, as well as support showing you exactly how it is done.
Softwoods
Softwoods is an independent, family owned company that has been trading for over 30 years. In that time we’ve worked hard to build a business that we’d like to deal with if we were building in our own backyards. We’re community minded, environmentally conscious, and always focused on our customers experience.
ABN: 49 076 530 848
Our Locations
573 Port Road, West Croydon SA 5008
Phone (08) 8346 1499
Email [email protected]
493 Wright Rd, Modbury SA 5092
Corner Wright & McIntyre Roads
Phone (08) 8396 4044
Email [email protected]
28 O’Sullivan Beach Road
Lonsdale SA 5160
Phone (08) 8384 5133
Email [email protected]
Suite 15 Plaistowe Mews
102 Railway Street
West Perth WA 6005
Phone 1300 737 465
Copyright © 2024 Softwoods • Pergolas, Decking, Fencing, Carports, Roofing • Site by Adelaide Websites
© 2025 Softwoods - Pergola, Decking, Fencing & Carports, Roofing.


